


Cozy Mantle
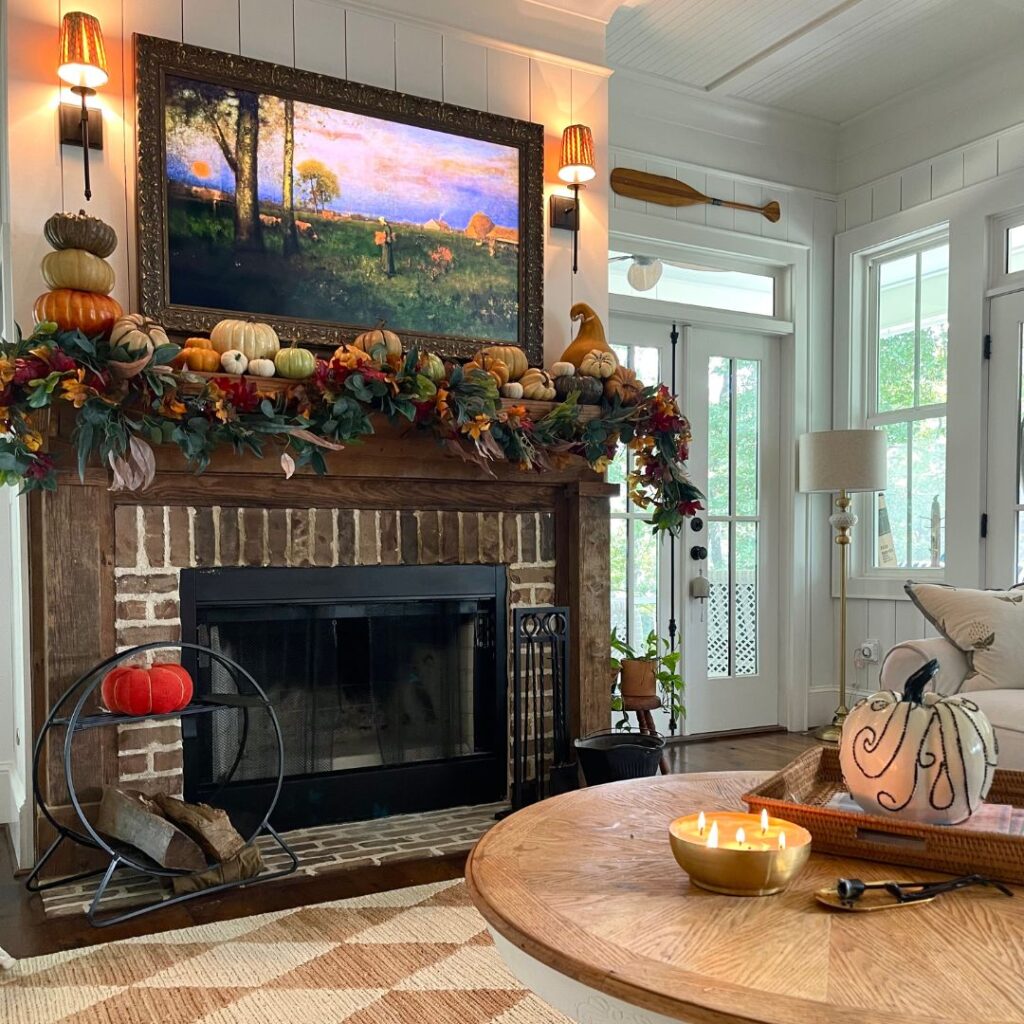
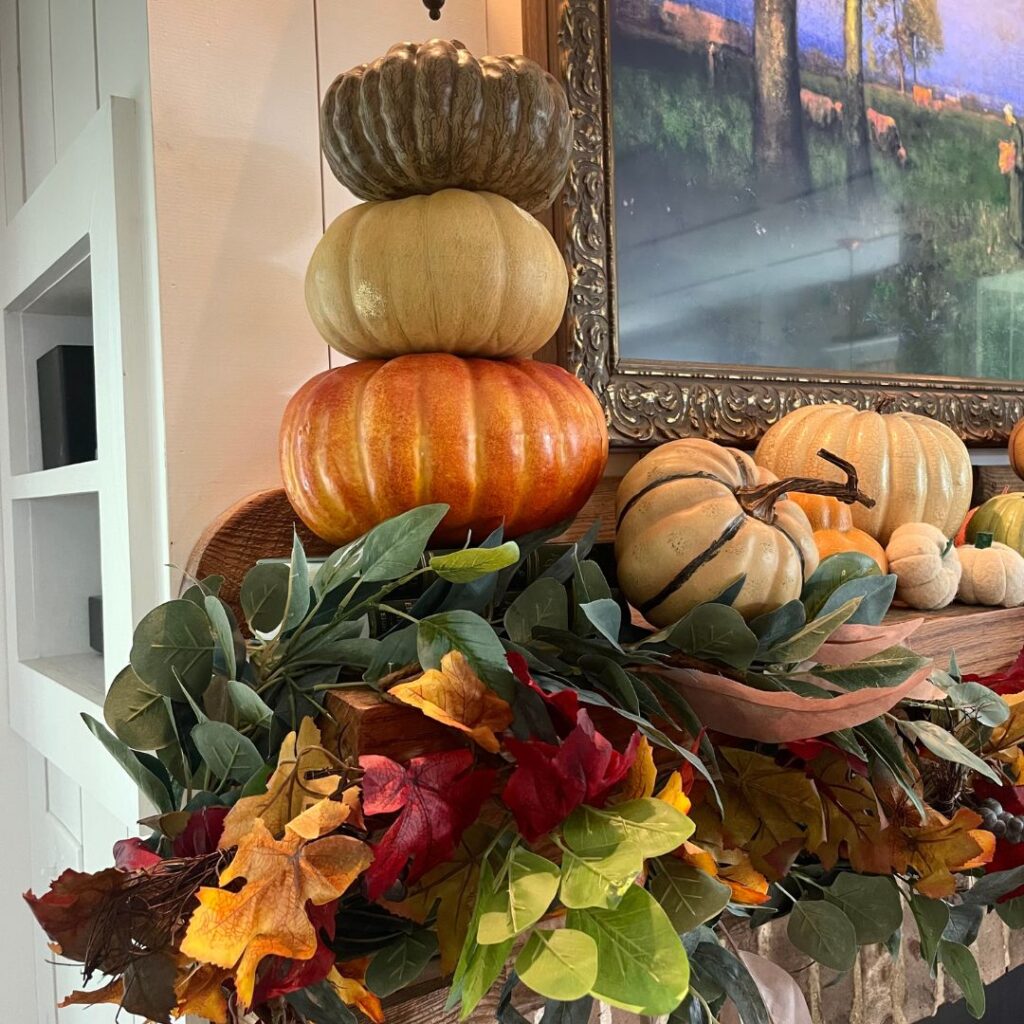
I decided to try a simple DIY fall mantle this year and am loving how it turned out. Can you believe I have never had a fall mantle in our current home? I wanted to try something different and wanted to have the look of pumpkins stacked to sort of “spill over” each other.
I usually jump right into spooky decor {as you all are aware from our epic past Halloween decor!} My goal was to make the mantle really pretty and cozy. I decided to grab every faux pumpkin I had, greenery for filler and went to work. In the end, I am really loving the warmth of the fall colors and overall feeling it’s giving my living room. Here’s how I did it….
DIY Fall Mantle
I’m not sure when the last time you’ve been to buy real pumpkins, but they are SO expensive! I still like to buy a couple for carving and outdoor decorating. However, I do buy a few faux to add to my collection each year and it doesn’t break the bank. BONUS! I can start decorating on September First and don’t have to wait for the harvested pumpkins to arrive!
Faux pumpkins can be pricey initially, but pay off in the long run. It’s much cheaper to pull out the old pumpkins from the attic, then buy new ones year after year. I have had these pumpkins for several years. They have held up great and look so realistic.
How I Created the Fall Mantle
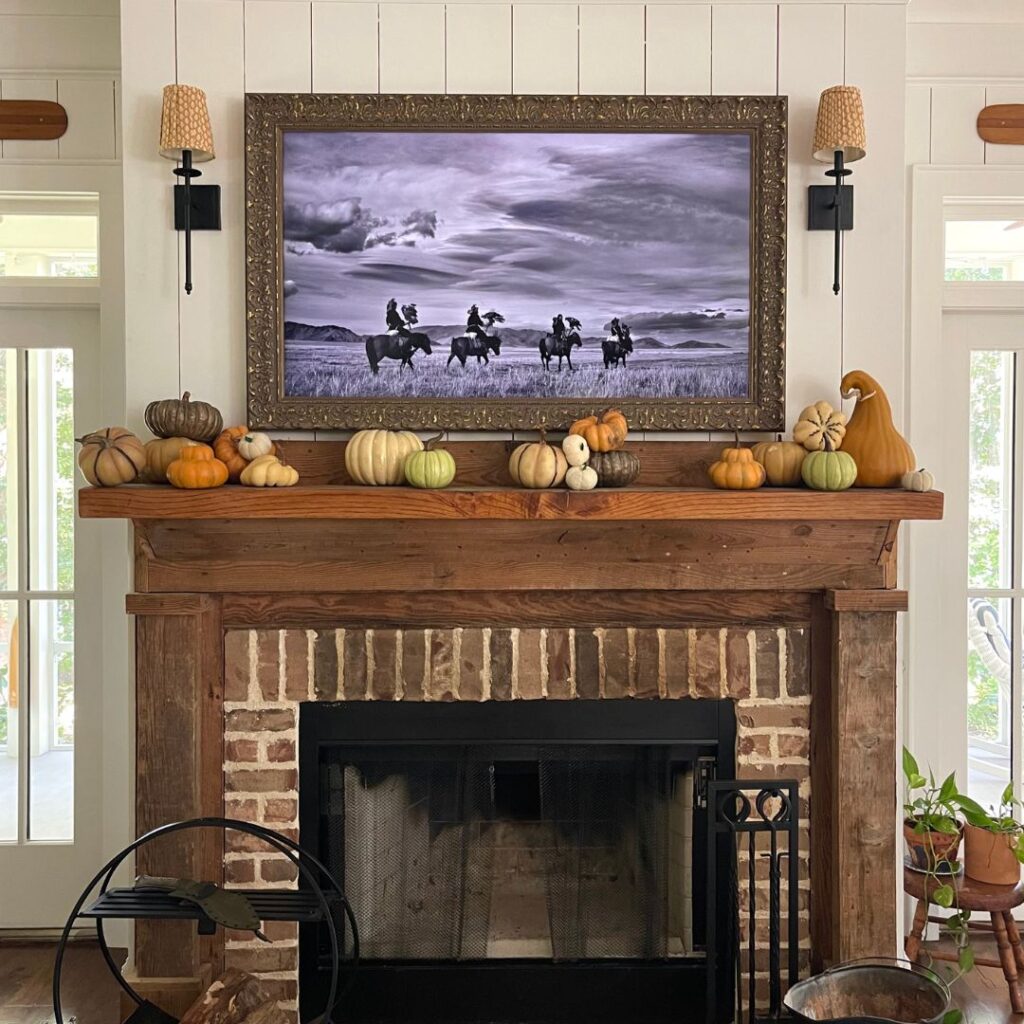
The first thing I always do when decorating the mantle is pull everything and clean it up. For me, a blank slate always inspires creativity.
Next, I laid out all of my pumpkins and played around with those on the mantle. I wanted to see how they were going to look, if I had enough of them, if the sizes were going to work, if I would need filler, etc.
Finishing the Mantle
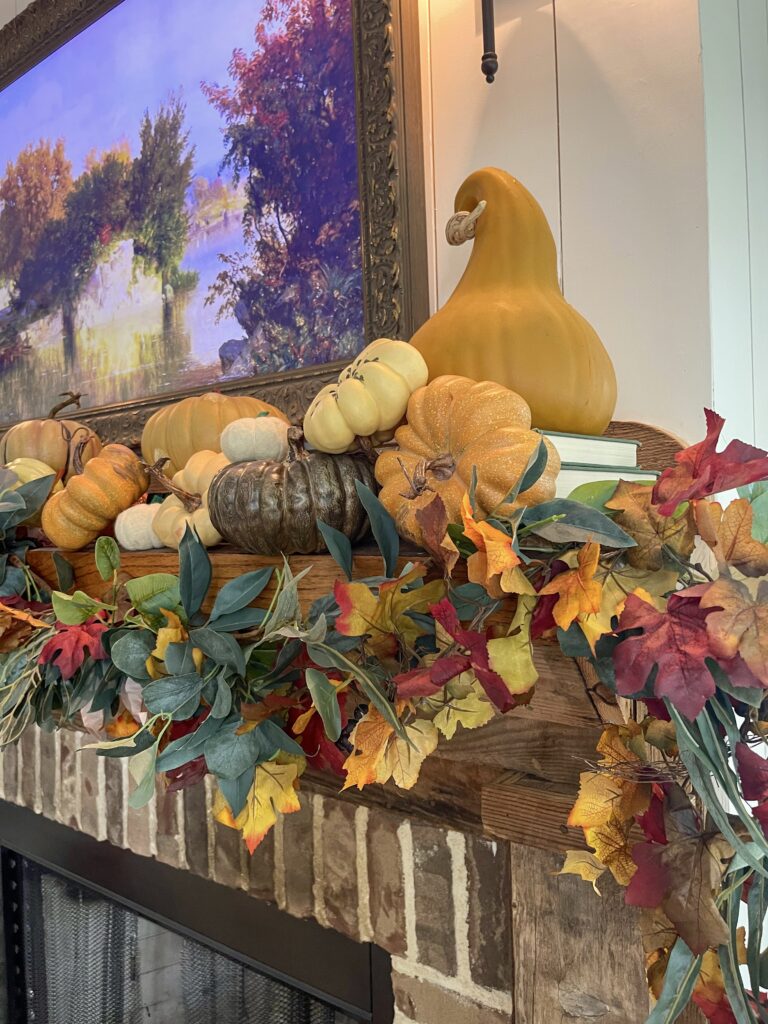
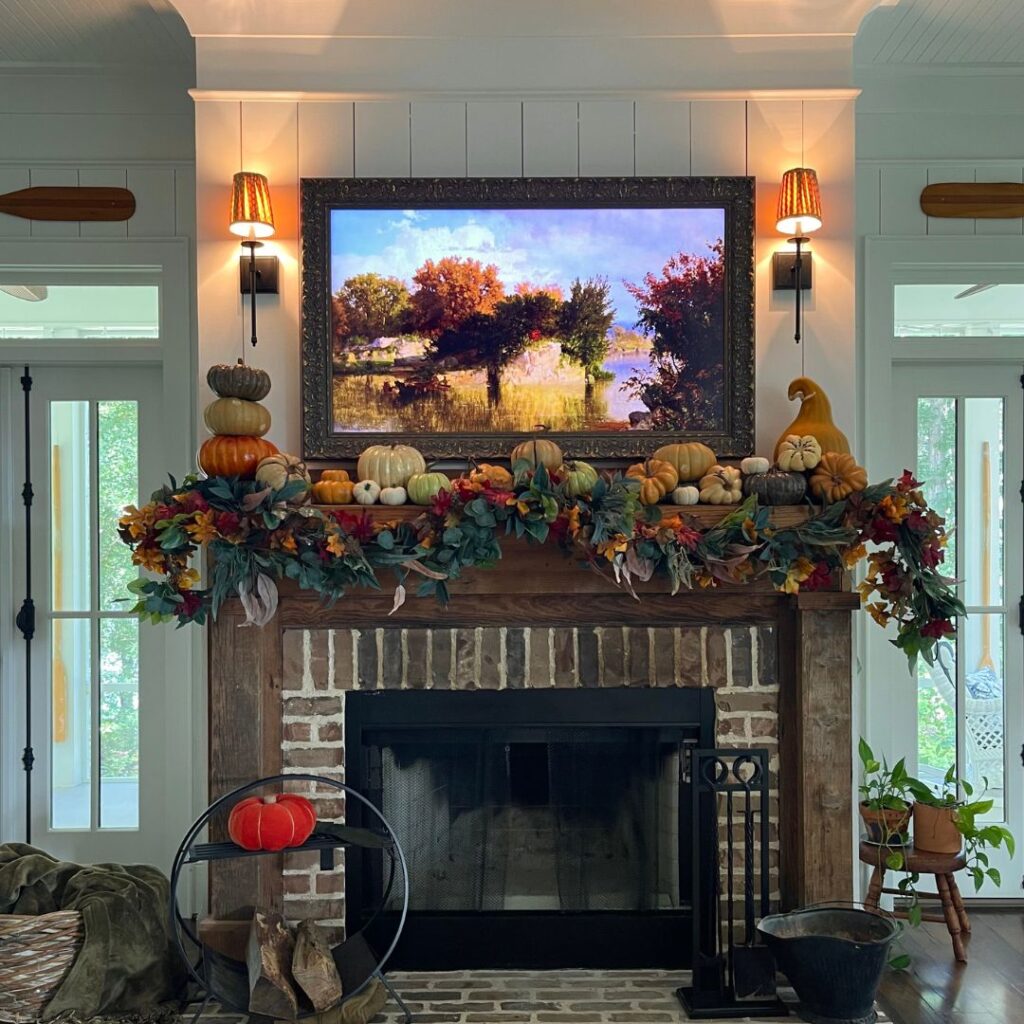
Once I had a vision for how I wanted my pumpkins laid out I took them off. {Pro tip: Take a quick photo before removing so you don’t forget where you want things {like I do 😂!} I hung a base layer of greenery as filler and to add some more color and dimension. I’ve had mine for a while, but did find a similar pre-lit Eucalyptus Garland at Target that’s really pretty. You could leave the greenery up until Christmas since it’s pre-lit!
After the base was laid, I started weaving in my faux fall garland {mine is from HobbyLobby, but here’s a similar one from Amazon.} And this is where I started to get excited as the vision was coming to life!
I secure the garlands with nails in my wood mantle. My mantle is very “distressed” naturally and one more hole won’t hurt anything, but you can use command strips if you don’t want to puncture yours.
After everything was secure, I added those pumpkins back in {using my photo for reference of course.} I had glue dots on hand just in case any of the leaned or propped up pumpkins wanted to move on me. I only ended up needed to secure two or three of them.
Mantle Decor Items
Here’s a link to everything I used! The pumpkins linked are the exact faux pumpkins I have from The Nested Fig and I love them (with the exception of the two big pumpkins on the ends which I found at Goodwill.) You can use my code: ThornCove10 to save at The Nested Fig (so many beautiful items!)
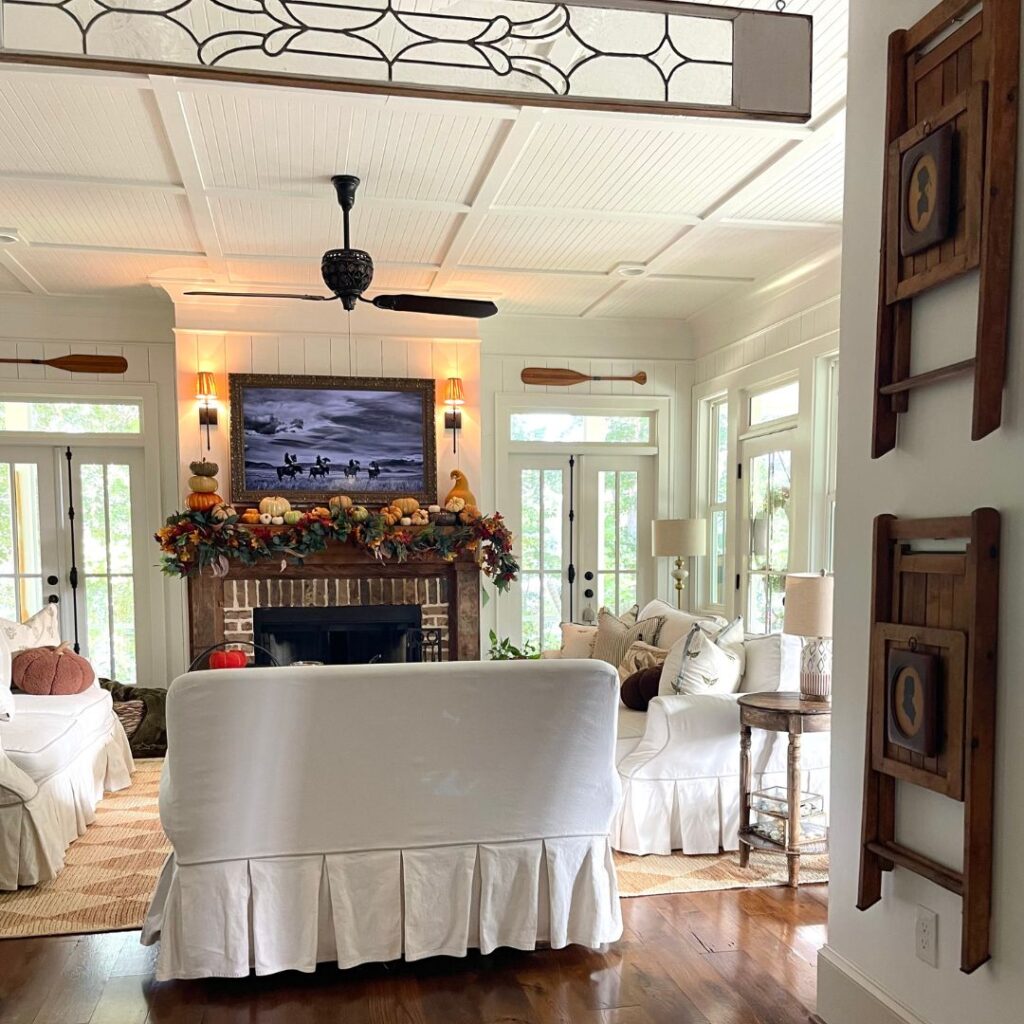
This whole process only took me an hour and it was honestly so nice. I just lit my favorite fall candle from Antique Candle Co {use my code Brittany20 to save 20% right now), made a cup of coffee and took in the warmth and contrast of the autumn colors!
It was just the fun and creative afternoon I needed. 🍁 How are you decorating for fall this year?


This is gorgeous! How wide is your mantle?
Black cat on the couch?
So beautiful !!
Thank you!