


Now on to “how to do a fireplace and chimney restoration”. If you’ve been following along, last week was window restoration. I’m thinking I should start calling these “how to” posts: “Things I never thought I would need to learn in life.” Or rather “how the heck am I supposed to know how to do this?” Enter Google and good friends-ha!
Refurbishing Brick Everywhere
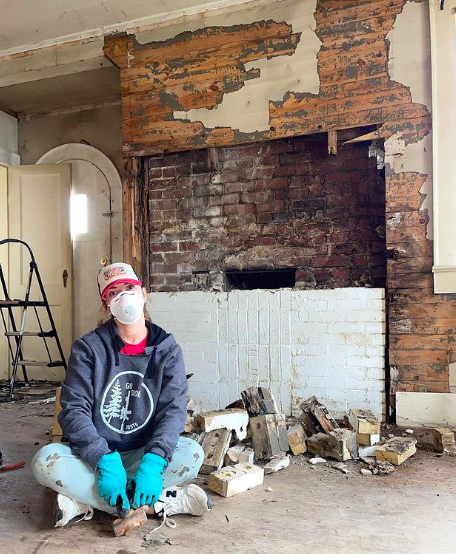
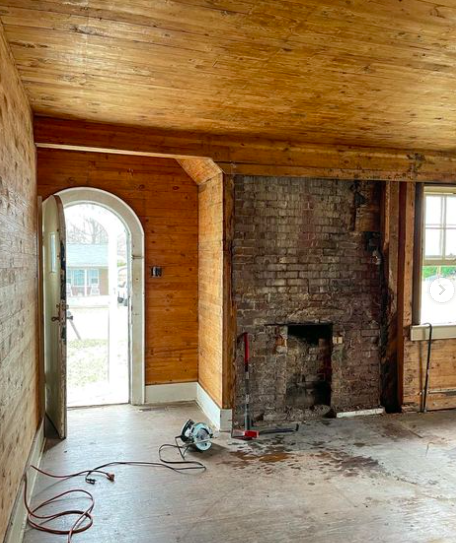
While I loooove exposed brick, sometimes it works and sometimes, it just doesn’t. You remember the fireplace in the living room my Dad and MIL helped me reveal? Well, in the end we discovered it had a lot of water damage. The exterior of this fireplace is the big pretty one seen from the road right off the front of the house. So she is important.
I had a professional come take a look since the interior damage was so extensive. Of course, what did he tell me? To remove it completely. And what do you think I said about that? Heck no. It’s literally part of what makes the little cottage so cute from the outside (and the inside.)

Fireplace and Chimney Rehab: Bringing in the Professionals
I did some more work to see what the options for restoring this beautiful fireplace were. I removed the existing fireplace surround and busted out the brick used to block up the original opening. It was then that I realized this project wasn’t going to be a full DIY. In order to be able to have a structurally sound fireplace I would need professional help. {Maybe, you are saying “I knew you would” at this point, but a girl can dream.}
Hiring a Brick Mason
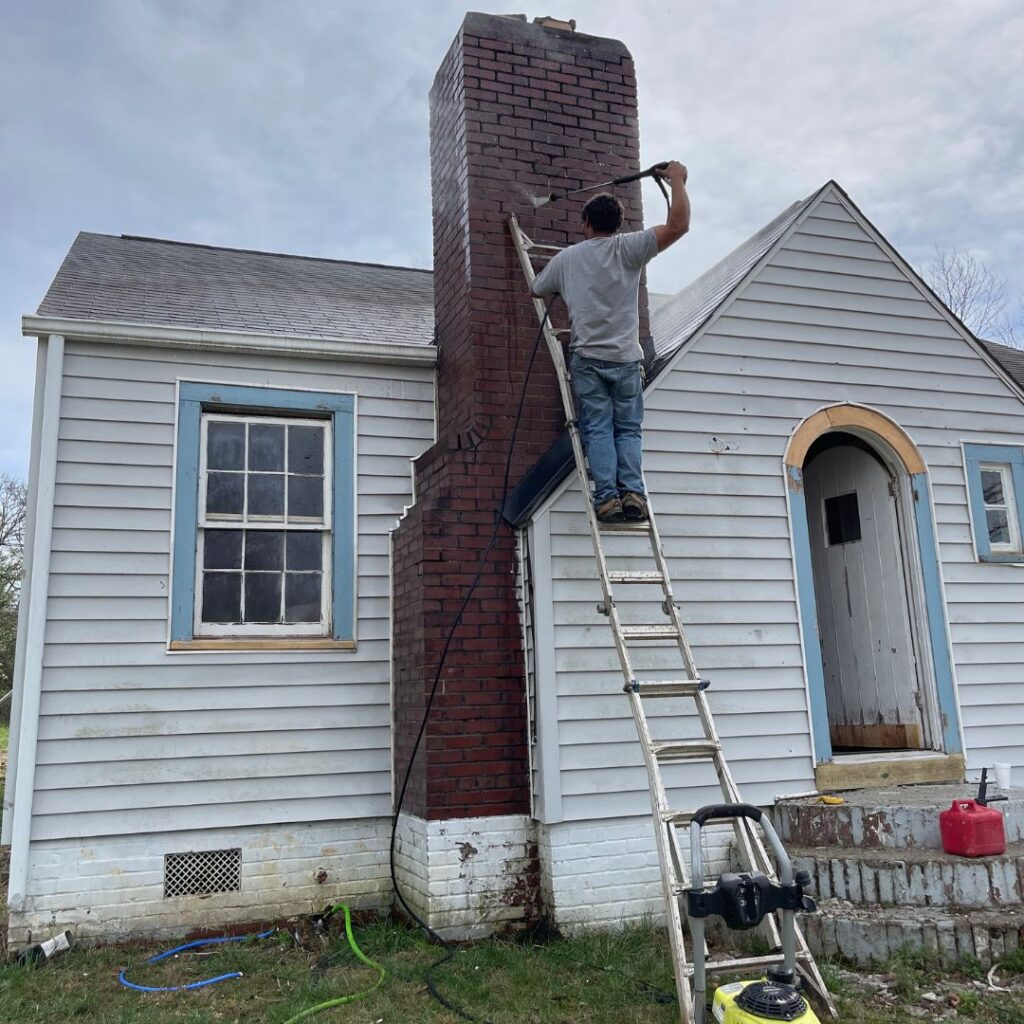
Fireplace and Chimney Restoration 101 probably would say to start with a Brick Mason, but I wanted to try things myself {DUH.} In the end, I did have to to hire a pro to come “repoint” the chimney brick. {All that means is cleaning out the old, crumbling mortar and replacing it with new.} Unfortunately, we also need to get a new roof after the brick has been repointed so it doesn’t look patched. This time we will install a small cricket, a sloped backing off the chimney that diverts water away and down the roof {not just sit in it like it was originally.}
Fireplace and Chimney Restoration Lessons Learned
Inside, our plan is to add a “new” brick surround, which will actually be old brick we salvaged from a school. {Read more about that amazing story here.} We will finish it off with a wood mantle that will sit right in front of the brick. {If you want to see where things currently stand, be sure to check my Instagram stories for updates.}
Can you believe I had a fireplace surround stashed in our barn that fits perfectly? I love it when these old treasures I am saving (or as Mark says “hoarding”) for the perfect place work out!
Because we’re such good friends I’m gonna teach you something else! While this large interior fireplace does have an opening, it has been bricked in from previous owners. Removing the bricks to make it truly functional would be too costly. A way to make it look prettier and appear functional is by putting a sheet metal or cast cover over the opening.
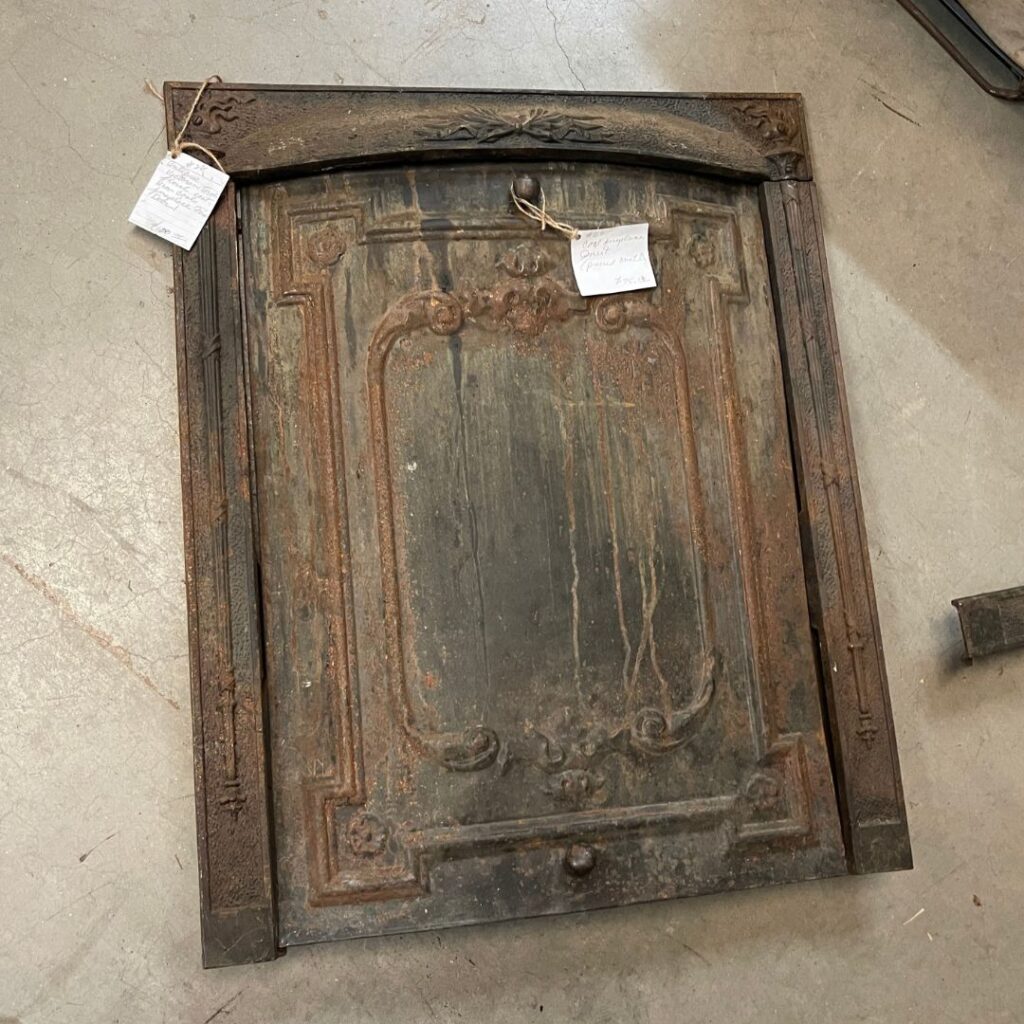
So, I went to one of my favorite antique stores and purchased a “Summer Cover.” This was the easiest solution I could come up with that looked aesthetically pleasing, but could still pass as “maybe this is still functional.” I’ll paint the cover a glossy black and paired with the mantle and schoolhouse brick, I think it will be perfect. {Remember, this is going to be an AirBnb, not our residence or a full time rental {at this time.}
Brick Chimneys in the Walls
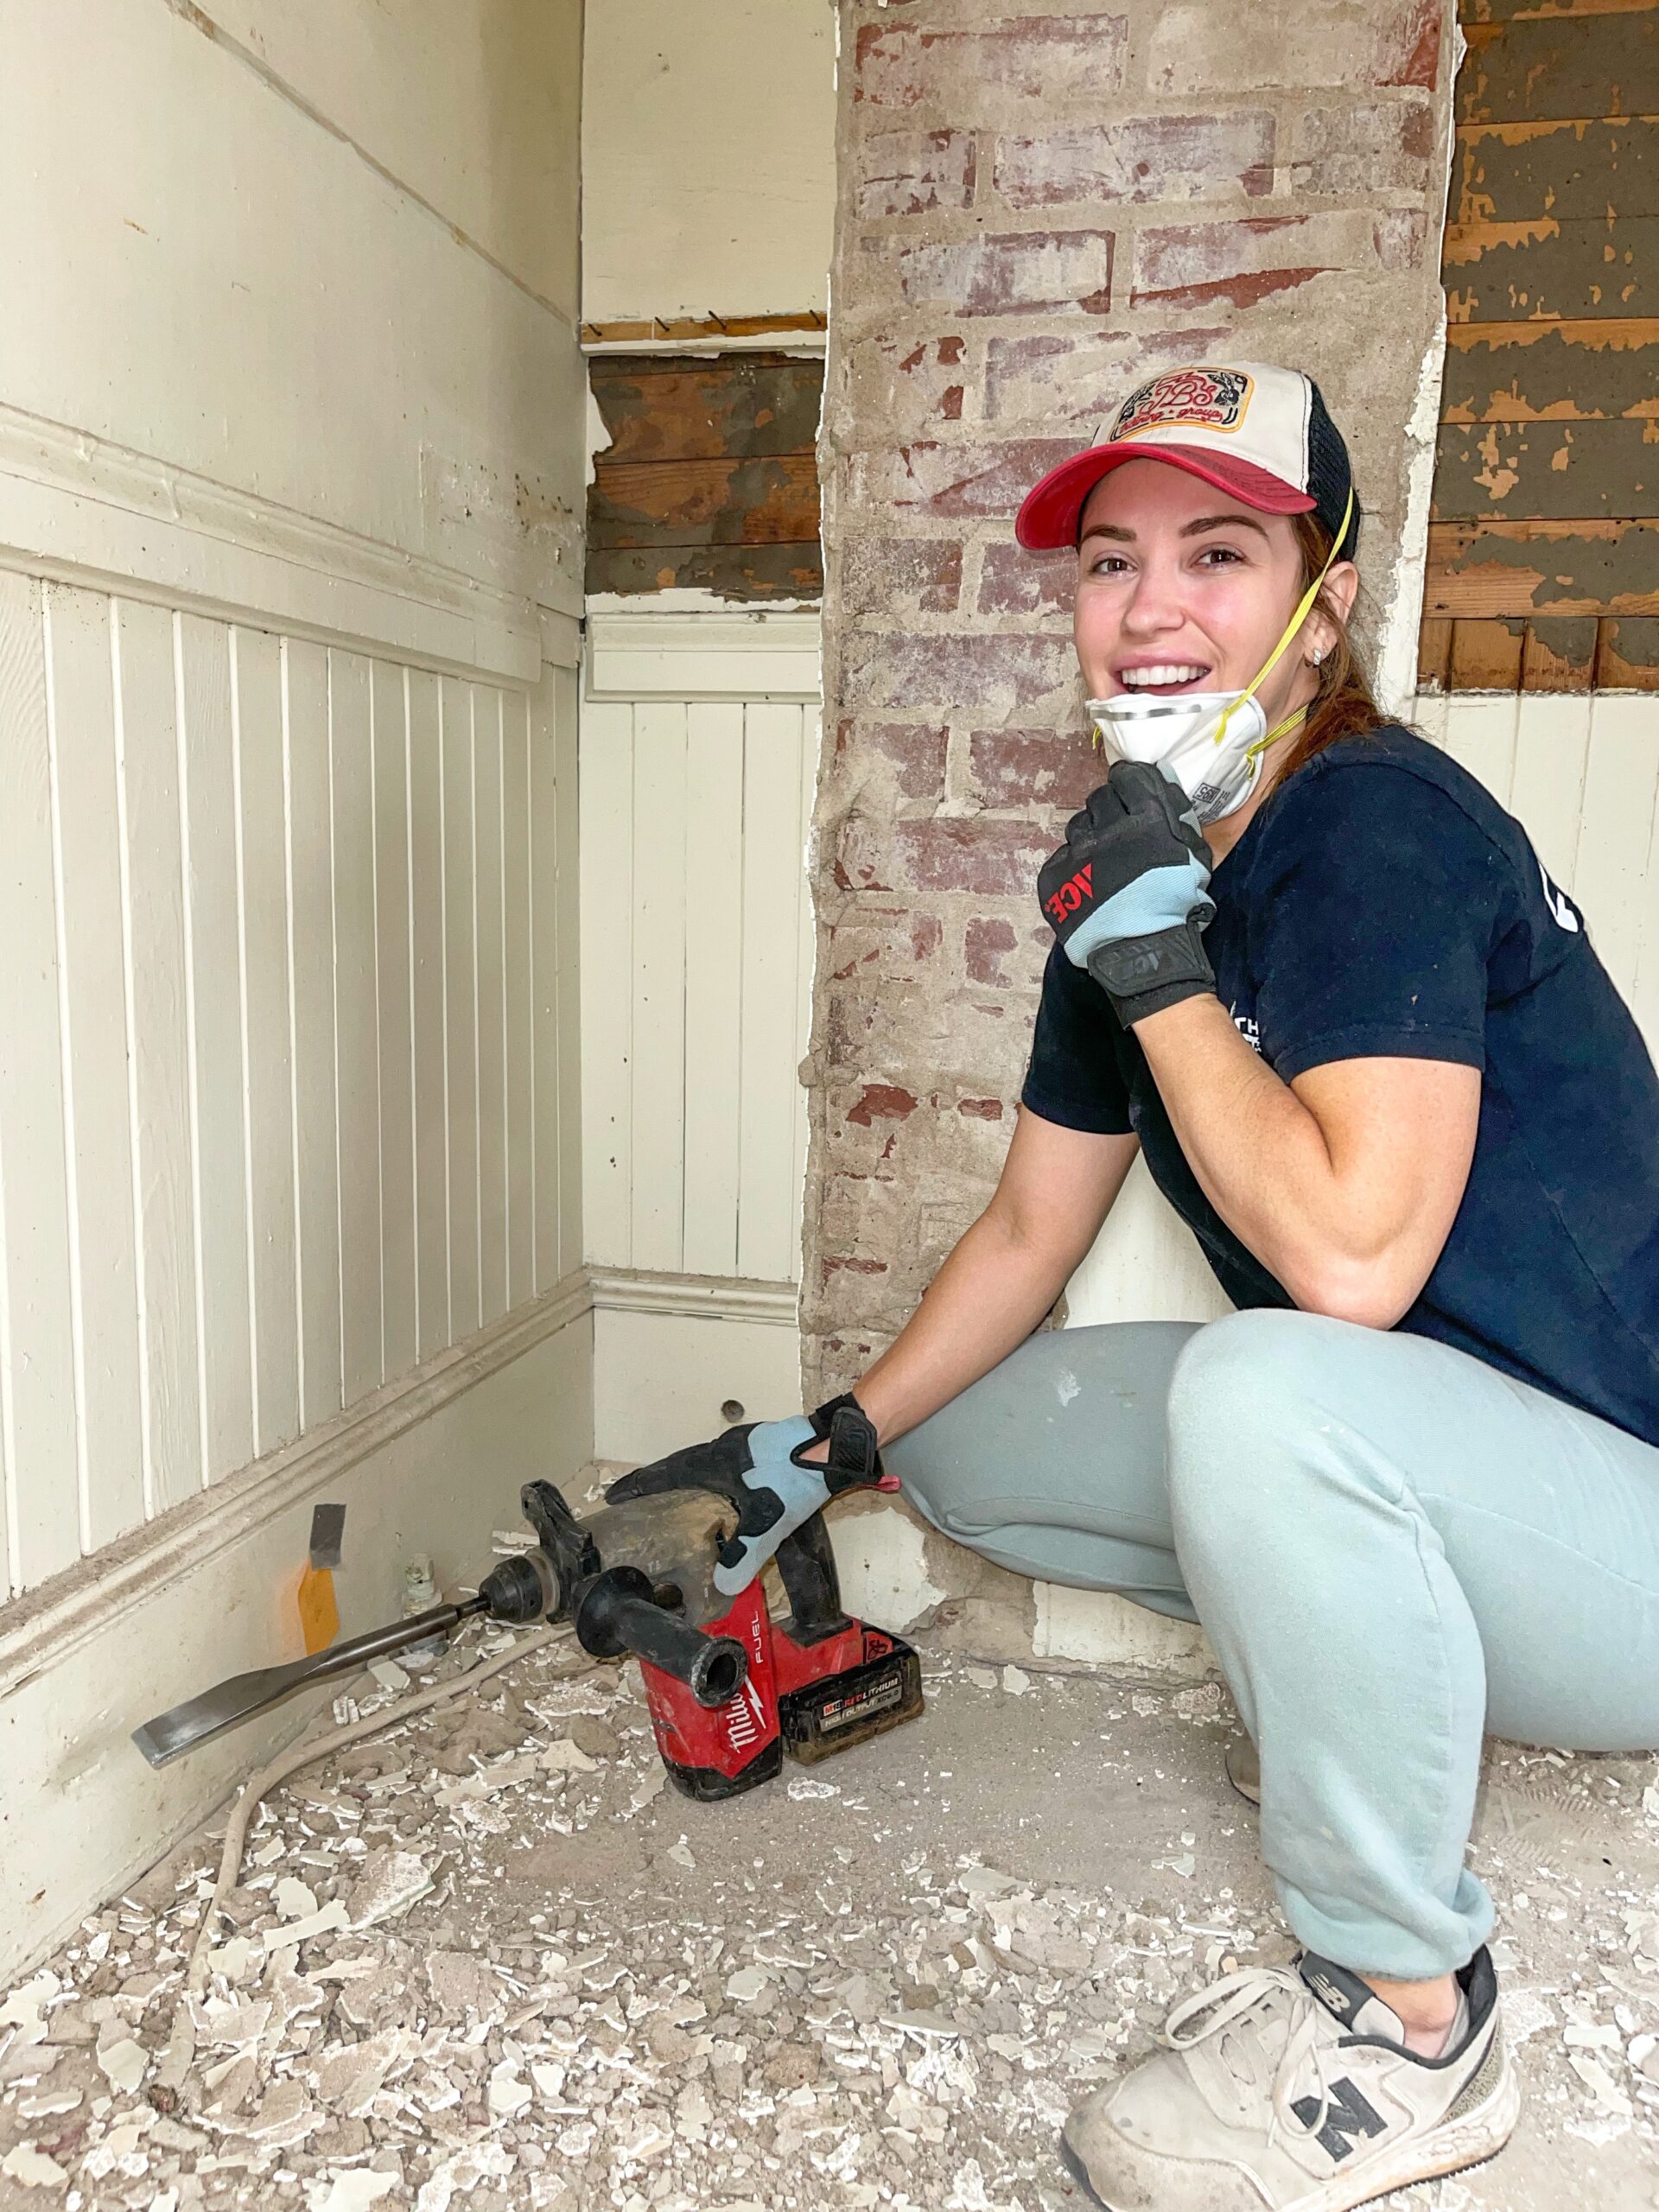
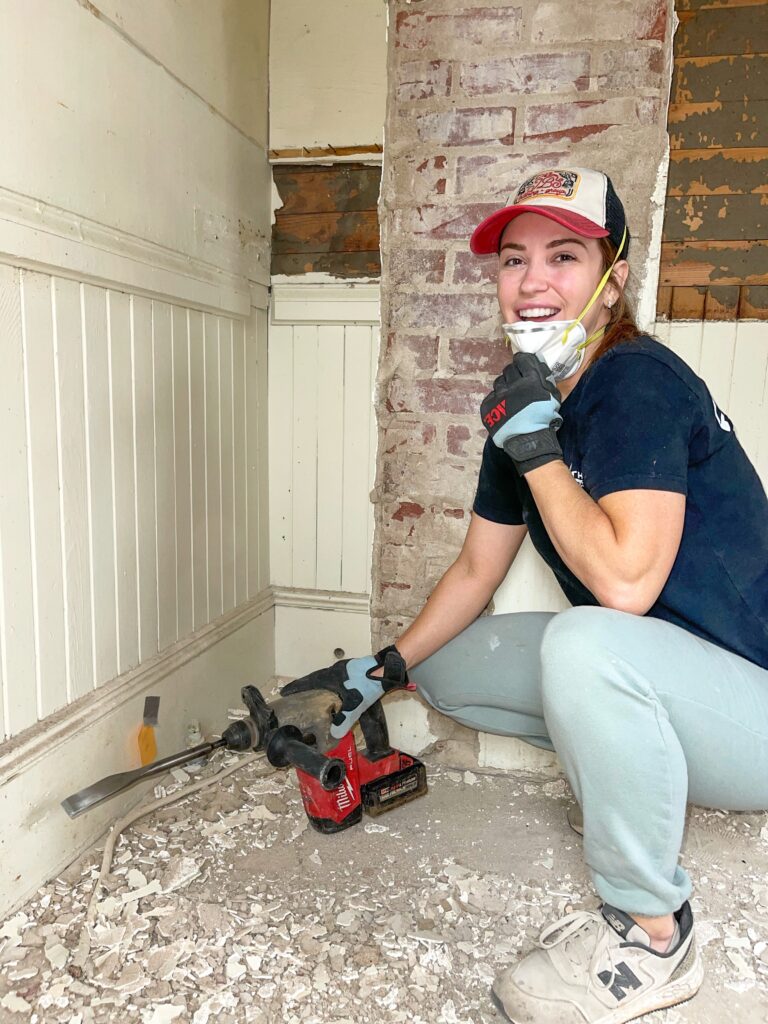
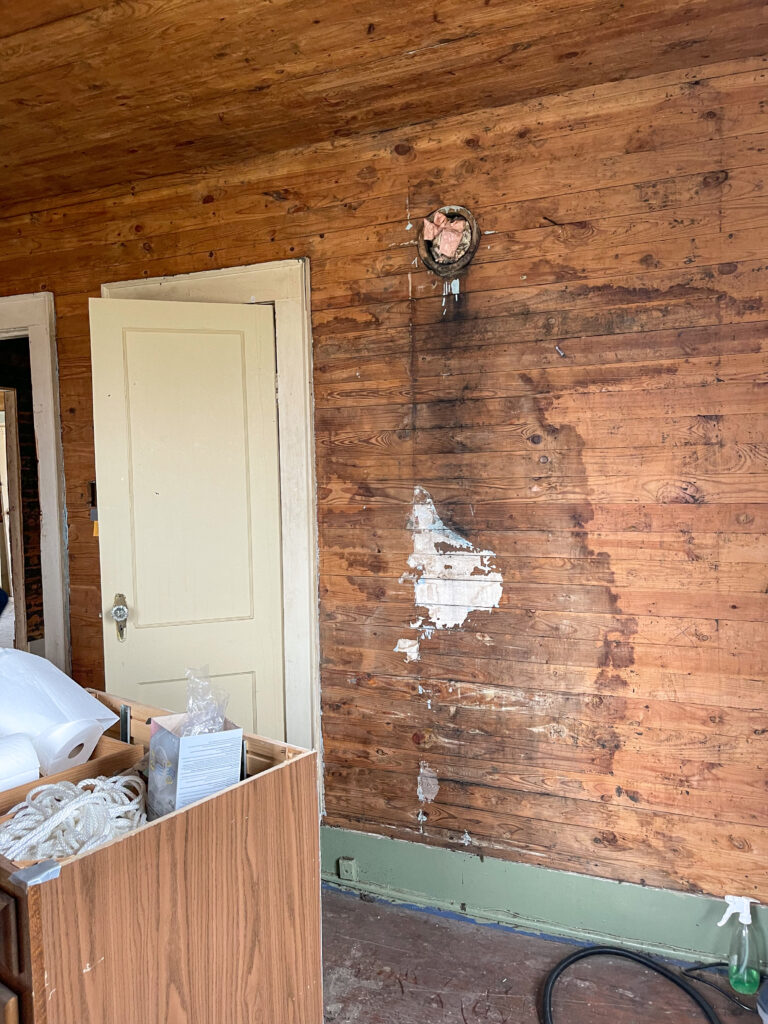
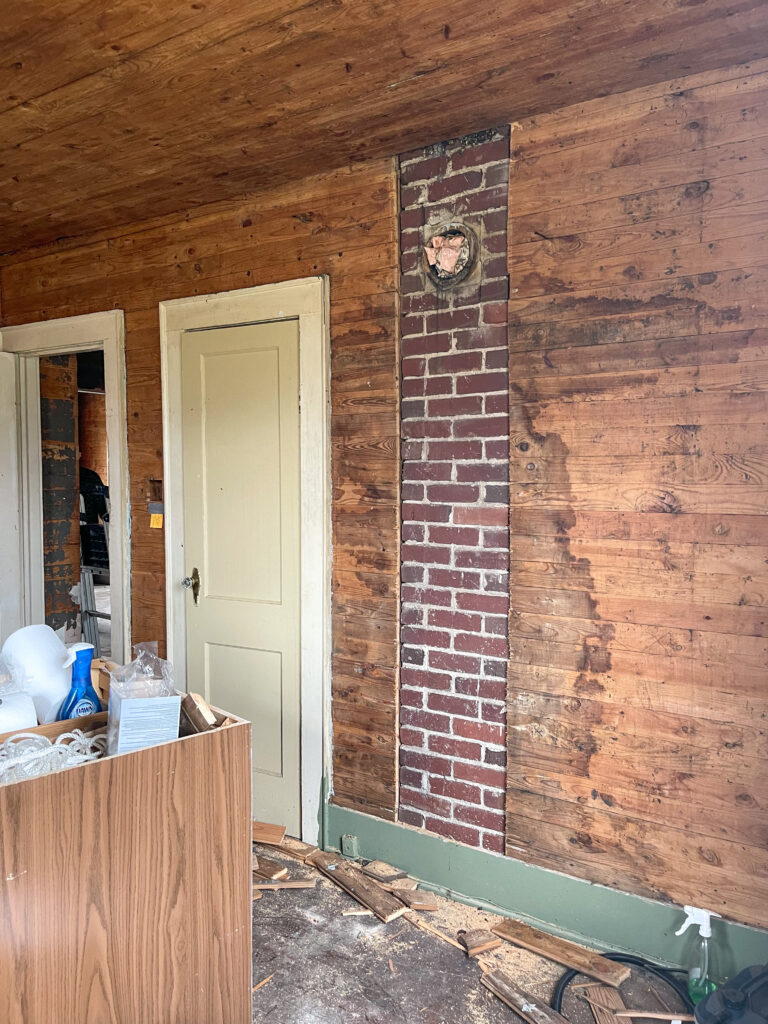
As we worked, we discovered brick chimneys in the walls of each bedroom, former dining room (will now be an eat-in) kitchen, and laundry room. In the laundry, I used a chipping hammer drill and a chipping hammer chisel to get layers of mortar and paint off. It was honestly very satisfying and took about an hour and a half to do. I LOVE the way this one turned out.
We’ve been working our way to expose these chimneys as it brings so much more character to the house. I mean, she has to show off after all these years of hiding!
We’ve exposed the brick in the largest bedroom and also the {new} kitchen. Now we just have one bedroom left to expose the brick chimneys in. We will finish it with trim so it has a nice finished look. {If you want to grab your own legit stylish safety goggles, here’s the ones I should use.}
As ya’ll know, sometimes I’m all about historic accuracy, but with this being an AirBnb I think any added character or layer of interest will set this little house apart. And if we’re talking about true historical accuracy, none of these beautiful wood walls would have ever been exposed. They would have been covered with wallpaper{!}
I don’t even know how many hours I’ve spent removing the tar paper from the walls and ceiling, but it has been worth every second. Look at this entryway! We’ve not even halfway there with this house and yet the curves, colors, freshly revealed walls and exposed brick are already blowing my mind. Can you imagine this cutie when she’s ready for guests? I might just have to use her as my own little getaway spot!


Looks so cute
Watching this remodel closely… so excited to see each “uncovery” & eventually the cute quaintness of the final reveal. 😉