Now that the Motorhome Bathroom has been renovated we officially have a halfway renovated Motorhome! I know I always say this, but I just love the way each of these transformations turn out. To be able to make this motorhome feel more like us, makes me want to spend even more time in it. It truly feels like a home away from home and that means something when you’re a homebody like myself.
Let’s start with some before photos!
I got so excited to get started on this space that I almost forgot about the before photos, altogether. So much gray and brown, but thankfully we already had nice countertops in place.
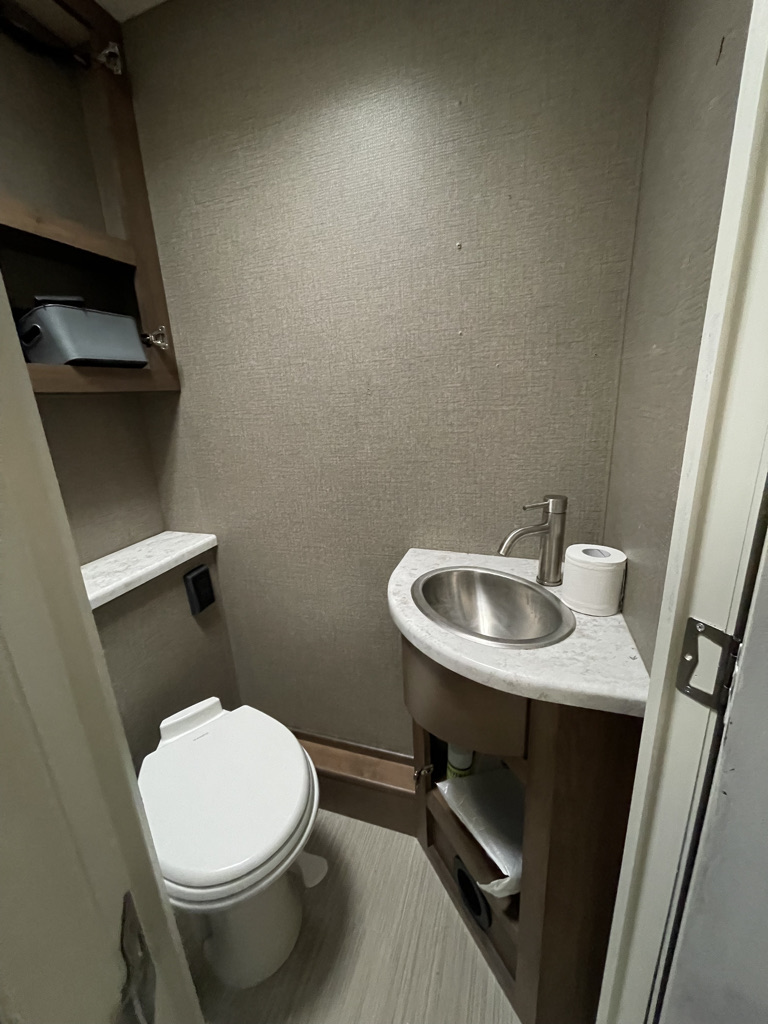
Let’s brighten up this brown!
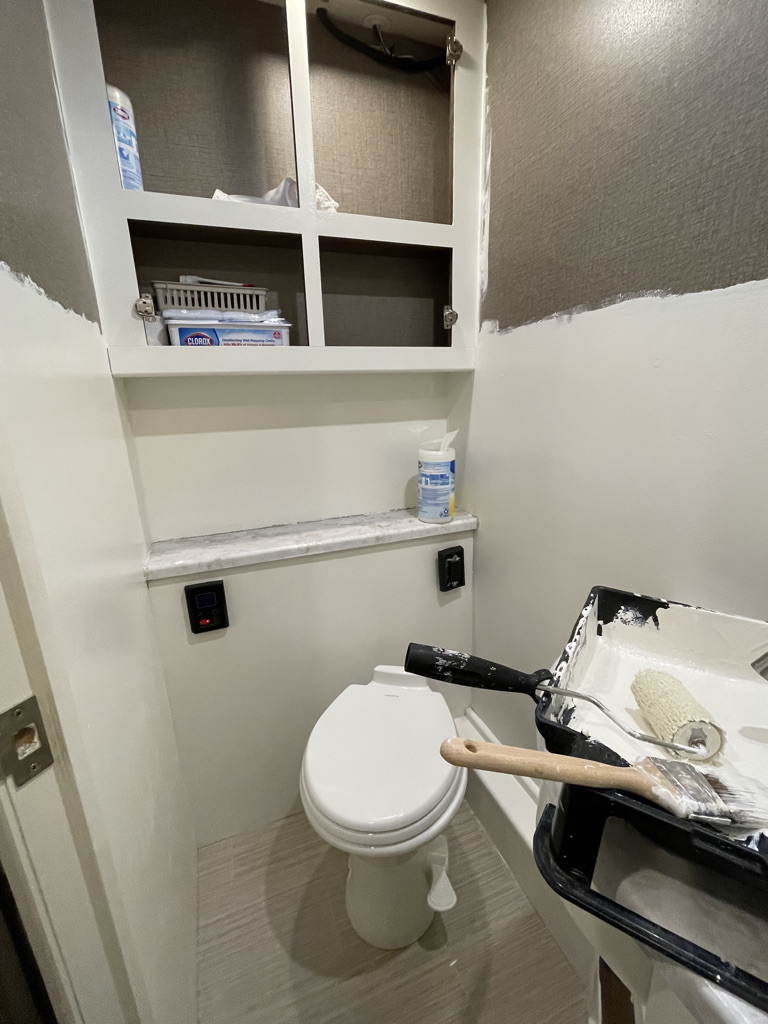
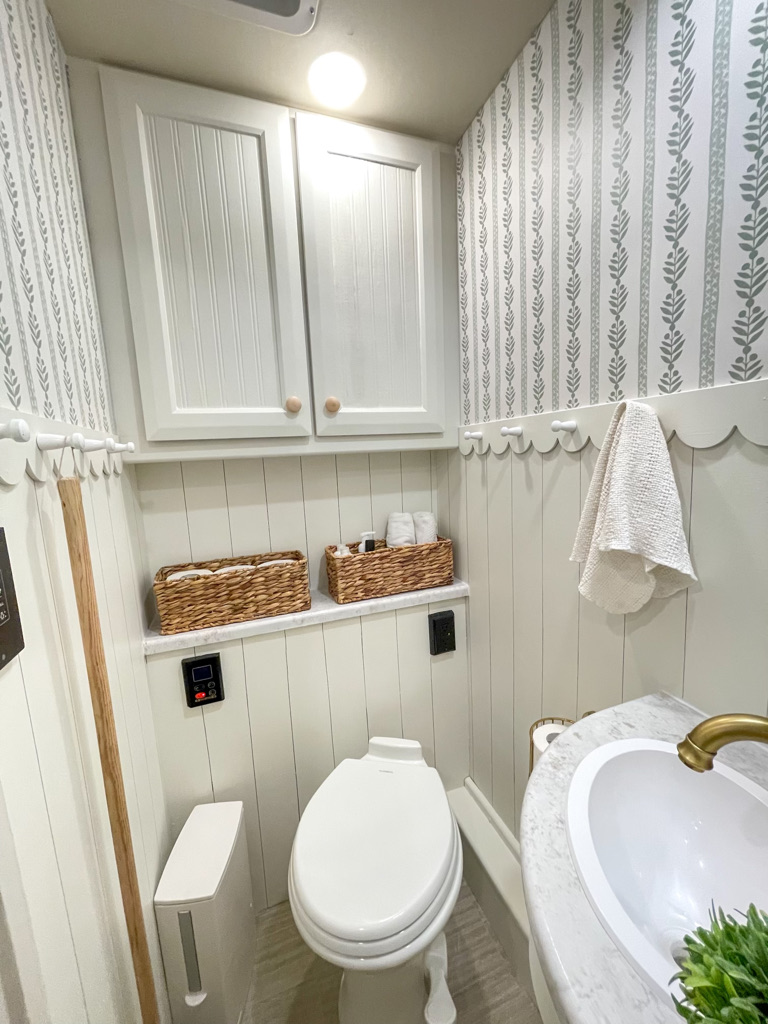
After ripping out that corner cabinet, I started painting the walls. I used one coat of white primer and two coats of Ivory Lace by Sherwin Williams. If you’re concerned about us losing storage, don’t worry! I added back what we lost and more by adding, much prettier, baskets over the toilet. I even have room to add a shelf or two more if we decide we need it down the road. Haha.. down the road. I’m so corny.
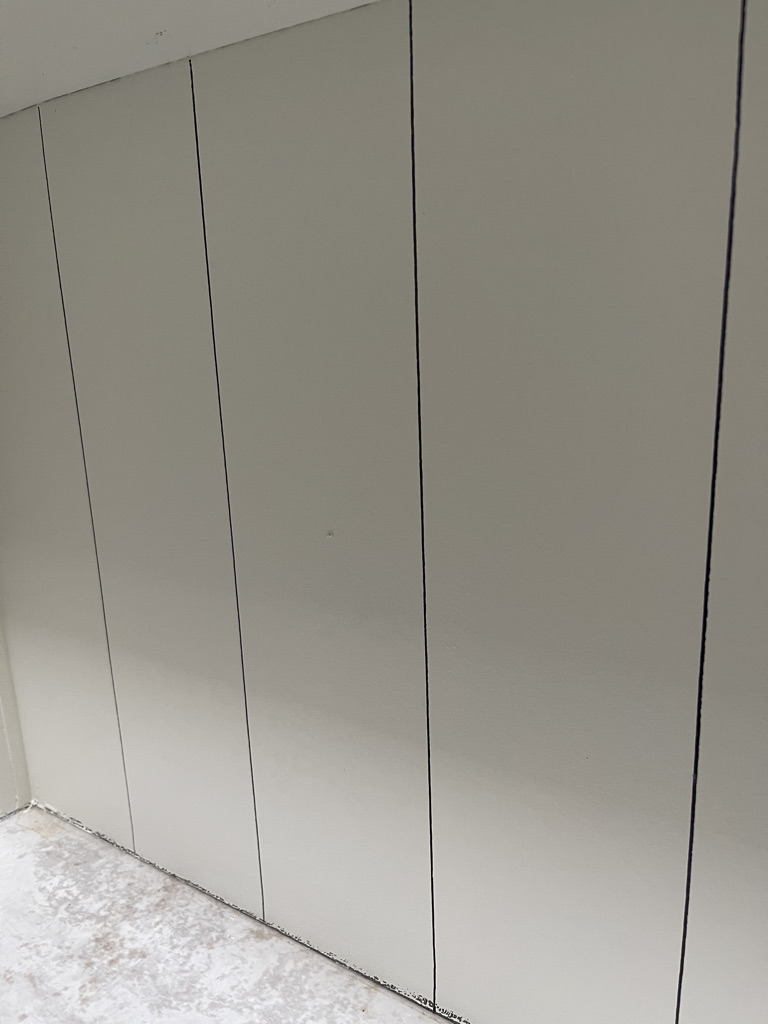
Sharpie Shiplap
I wanted to try something I’ve seen done before by others, but never attempted to do myself. Sharpie Shiplap! I thought the motorhome would be the best place to try it since you have to consider any weight added during renovations on an RV. Creating this faux paneling kept us from adding the additional weight of real wood planks. I think it looks great and you wouldn’t know it was sharpie unless someone pointed it out to you.
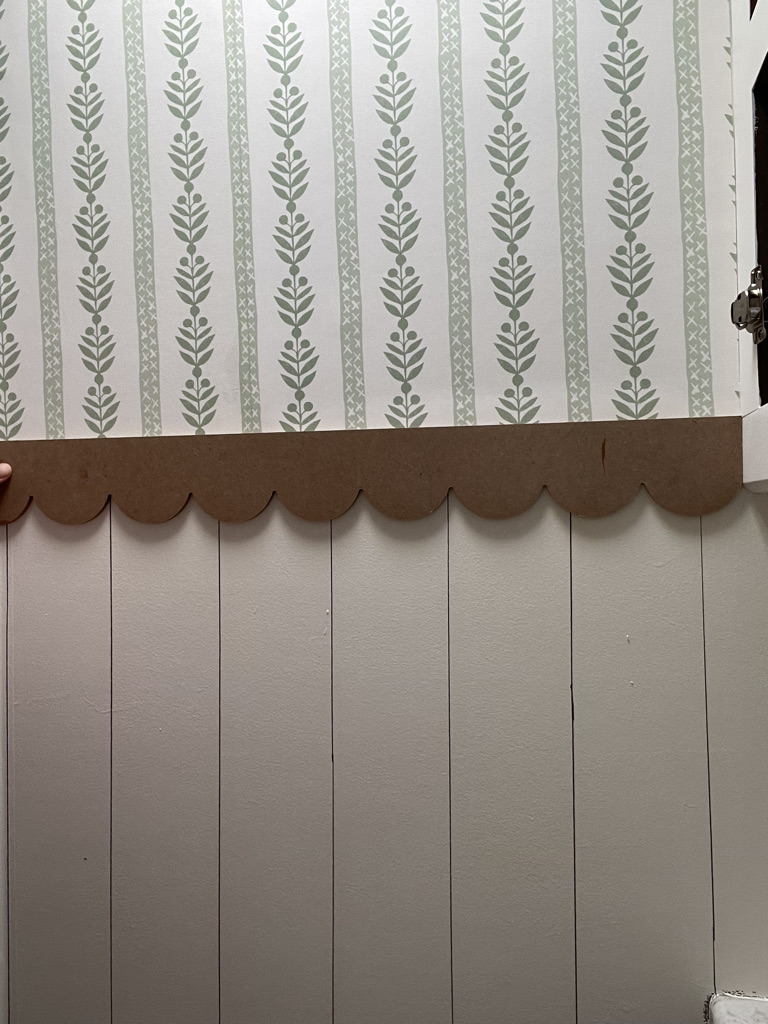
The cutest details
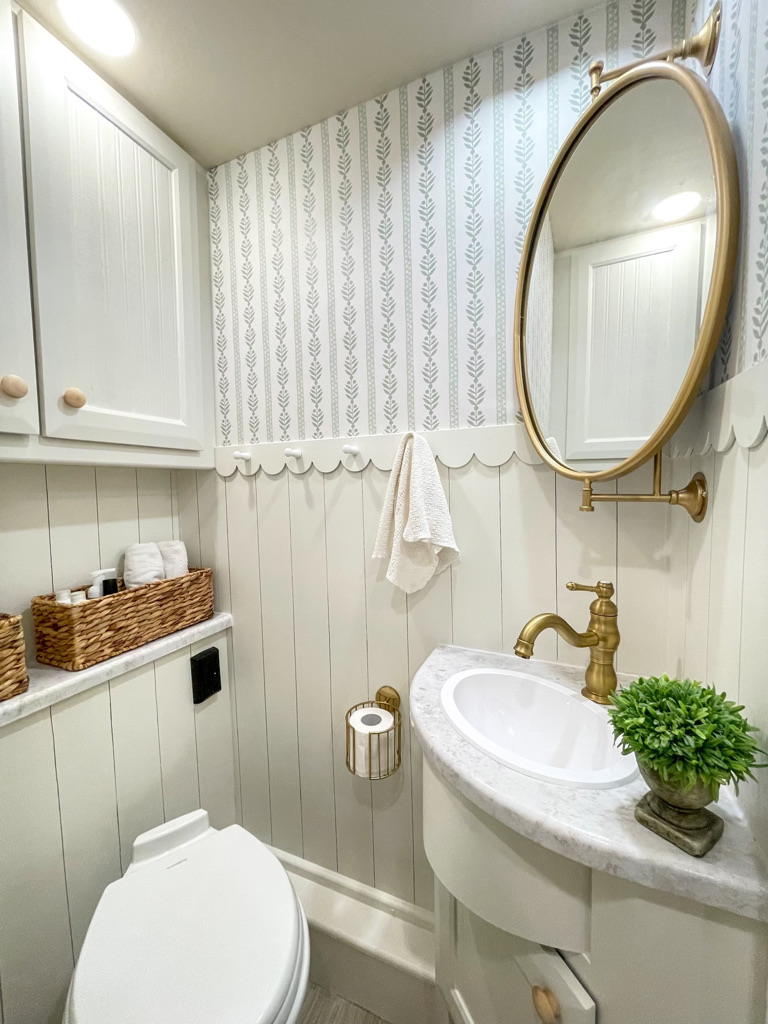
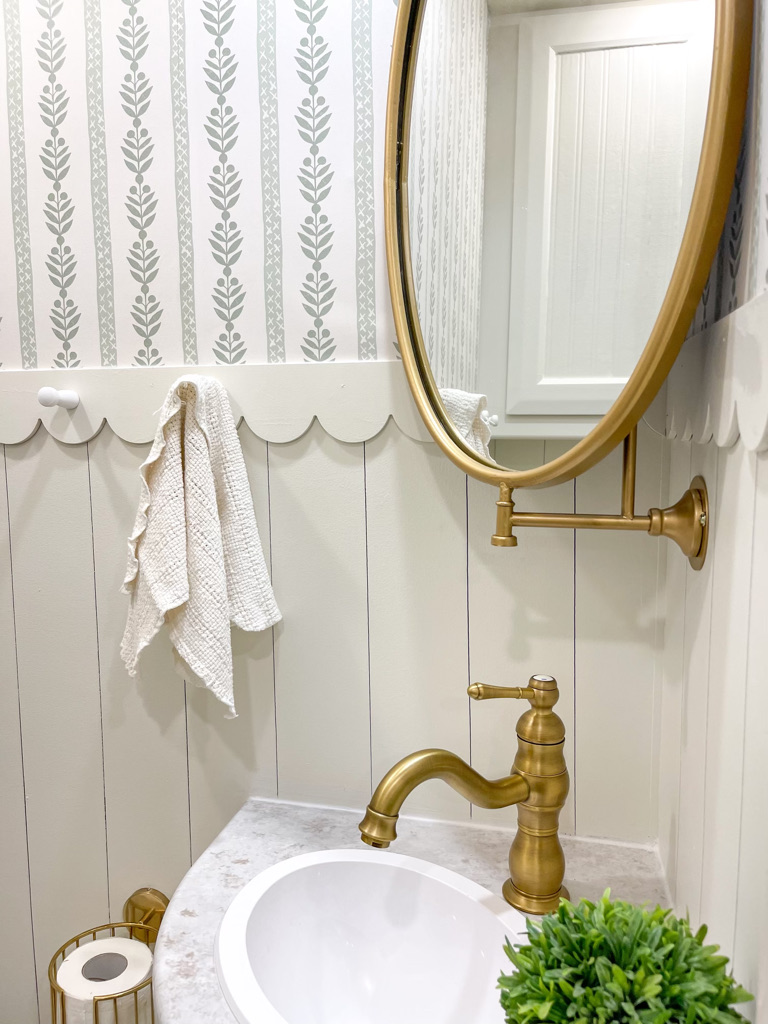
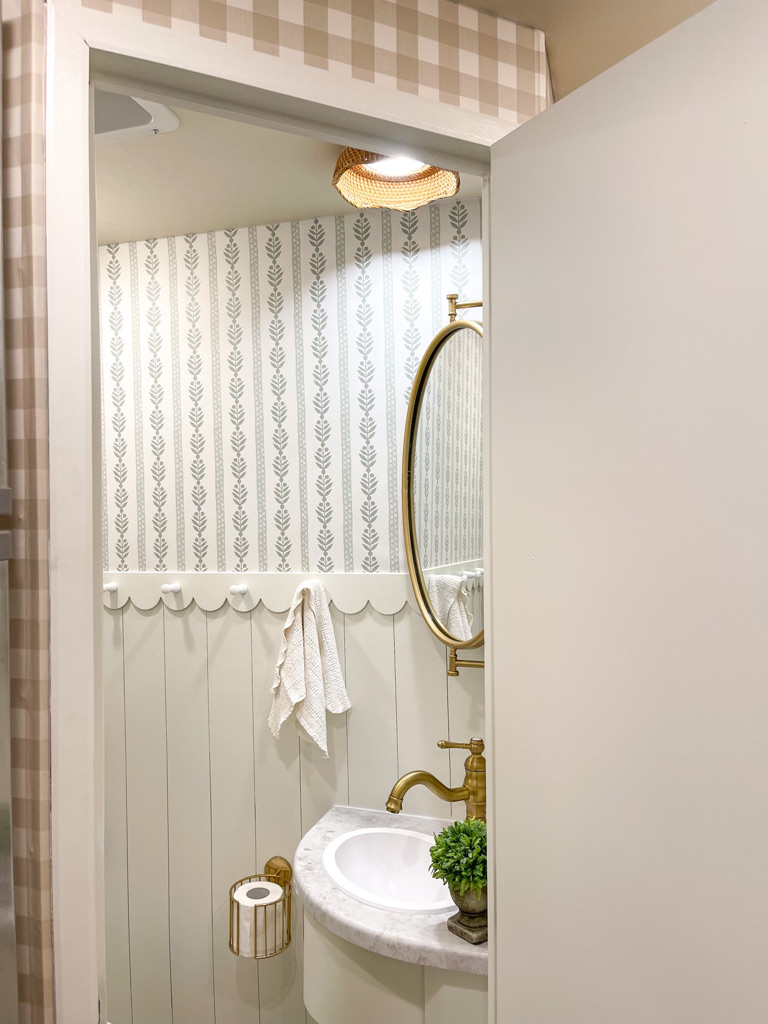
Next, I added some pretty wallpaper from Spoonflower and the cutest scalloped trim. I found this trim already cut on Etsy. This added such sweet interest to the space.
All the details
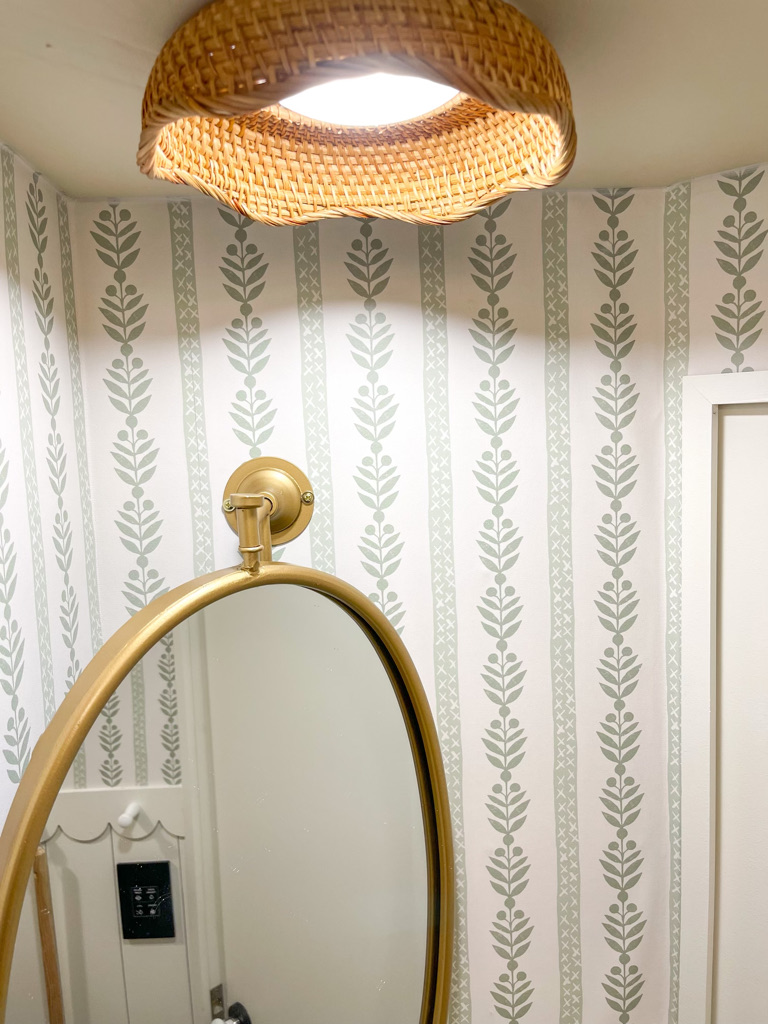
I cut out the center out of this scalloped basket to create a pretty “light fixture”. I often get asked about the baskets getting hot, but the RV lighting is just low voltage battery powered lights. Getting hot is not a concern to me. I’ve had them up for 6+ months in the front half of the motorhome without any issue. I just attach them with liquid nail.
Finishing Touches
In the end, I went with gold finishes to tie in with the rest of the motorhome. I decided to use this swiveling mirror. I like that it installed very securely and also that it could hang in the corner above our corner sink. I love the curves in this faucet. It compliments the scalloped trim so well. The toilet paper holder was a splurge and honestly if the kids can’t replace the toilet paper when it’s this easy, I give up.
I added these baskets behind the toilet for some extra storage. They are so much prettier than the corner cabinet and add a nice texture and warmth to this bright room. The wooden cabinet knobs are a staple go-to for me. I love how they tie in with the basket color in here. I added the shorter pegs on the walls in here so that we could move our mop and broom into this bathroom instead of right by the front door. Our coats always land there and we were running out of room. This will be great to have a designated space for cleaning tools. Pretty and practical.
Next up, Master Bedroom + Bathroom.
My goal is to be completely finished by the end of May. This is probably a bit ambitious considering the busy month we have ahead, but its always fun to have goals to work towards.
XOXO,
Brittany
WOWZAH!!!! Just beautiful. I never in my life thought I would say that about an RV bathroom.
Thank you so much!! I love each room just a little more than the last!
So stinking cute!
I love it, it looks so good! You are so talented!
Thank you so much!
Brittany could it be any cuter??!! Love this soooo much! That mirror is perfect & the scallop trim is the icing on the cake. Great job!!
Thank you so much Kayla!
It looks like a little cottage! I love the scallop detail and that wallpaper is perfect. 💚
What a transformation!! Gorgeous
Beautiful! So happy to see the prison sink removed!!
Those are the worst! I don’t know who is designing these things.
The toilet roll paper holder is so cute!
It’s beautiful!!!
Looks fabulous. You are so talented. Wish our fifth wheel looked this homey❤️
Brittany you are so talented. The RV bathroom looks so stinking cute!!!
Stunning 🤌🏼 What a difference! You have an eye for these things!! 💛
Maybe the RV company could let you design the bathrooms!!!! Or all of it!!
Adorable. Maybe you could add Velcro or little knobs on the shelf to secure the baskets in place while the motorhome is moving.
I have heavy duty double-sided tape under them. They are secure, but velcro could work too!
Girl you never disappoint! This is so darling ❤️ It makes me want a motor home 😁
The bathroom makeover looks GREAT!!! I love the scalloped trim you put in here.
Xx
Gena Bogard
Looks great!!
You are so talented. This is such a beauty!
I absolutely love it Brittany. 💕💕💕
Love this bathroom! You are so creative! I love
watching you transform spaces. So fun!
Brittany!!! What a difference! Its absolutely beautiful!! Girl you are super talented & very creative!! Who would ever think an RV bathroom could be so pretty & cozy! The RV is definitely an extension of your home as far as the decor & feeling goes!! So so pretty!
This turned out so cute! I love the basket light idea so much…. Who knew? ☺️
LMG love it girl!!! -Tara @blooming_acre
You do an Amazing Job! Truly Talented and Great Eye for Design and Decorating! I love your style and your family!
Ok- I am not RV savvy- so I have to ask- what is the thing beside the toilet? Thanks.
I’m not sure what you’re referring to? It flushes from the bottom. Maybe you’re talking about the lever? Or the slim trash can beside it….
Great Job Brittany it looks amazing!!
It looks soooo good!!! I love it! Now I’m thinking about where I can add that scalloped trim.
I love the new bathroom redo….I was thinking of doing the sharpie shiplap as well on my new fireplace. Any suggestions? Does it matter the width?
I just used the standard sized sharpie. Try to use the same amount of pressure for the full length of the line you’re drawing.